SAML with Okta
Prerequisites
- Cortex must be running at a URL that won't change. You'll be using this URL
as part of the configuration; Azure AD will assume this is where authentication
requests will be coming from and where authentication responses should be redirected.
(In the instructions below, this is referred to as
<your cortex url>and in configuration asPublicUri) - Cortex should be running on an HTTPS site with a valid certificate.
Configure Cortex as an Application in Okta
-
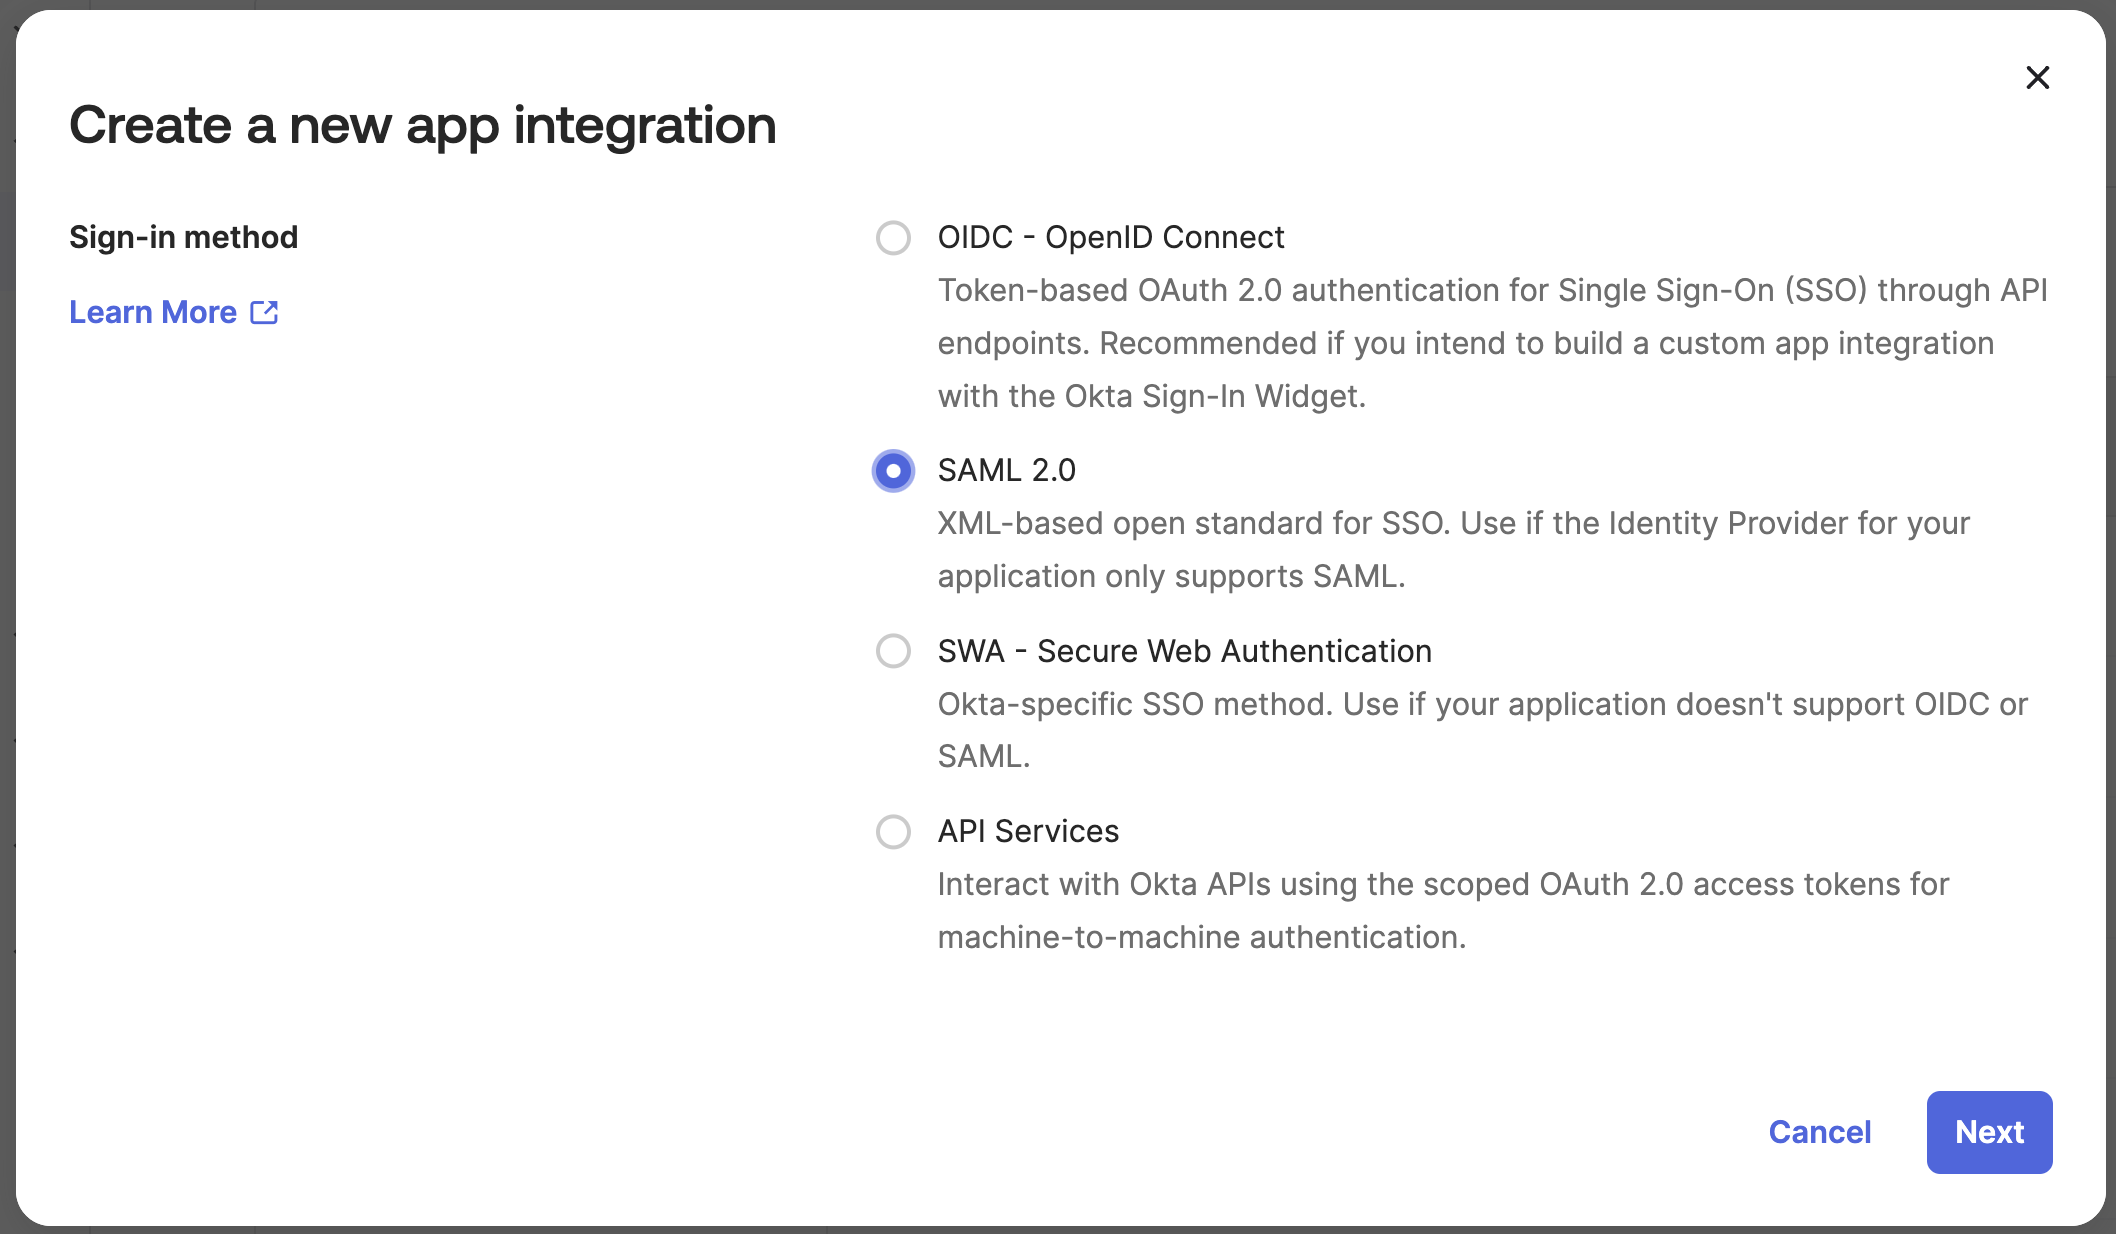
In Okta, choose Applications > Applications on the left sidebar, then click the "Create App Integration" button. Select SAML 2.0 from the "Create a new app integration" modal and click "Next".
-
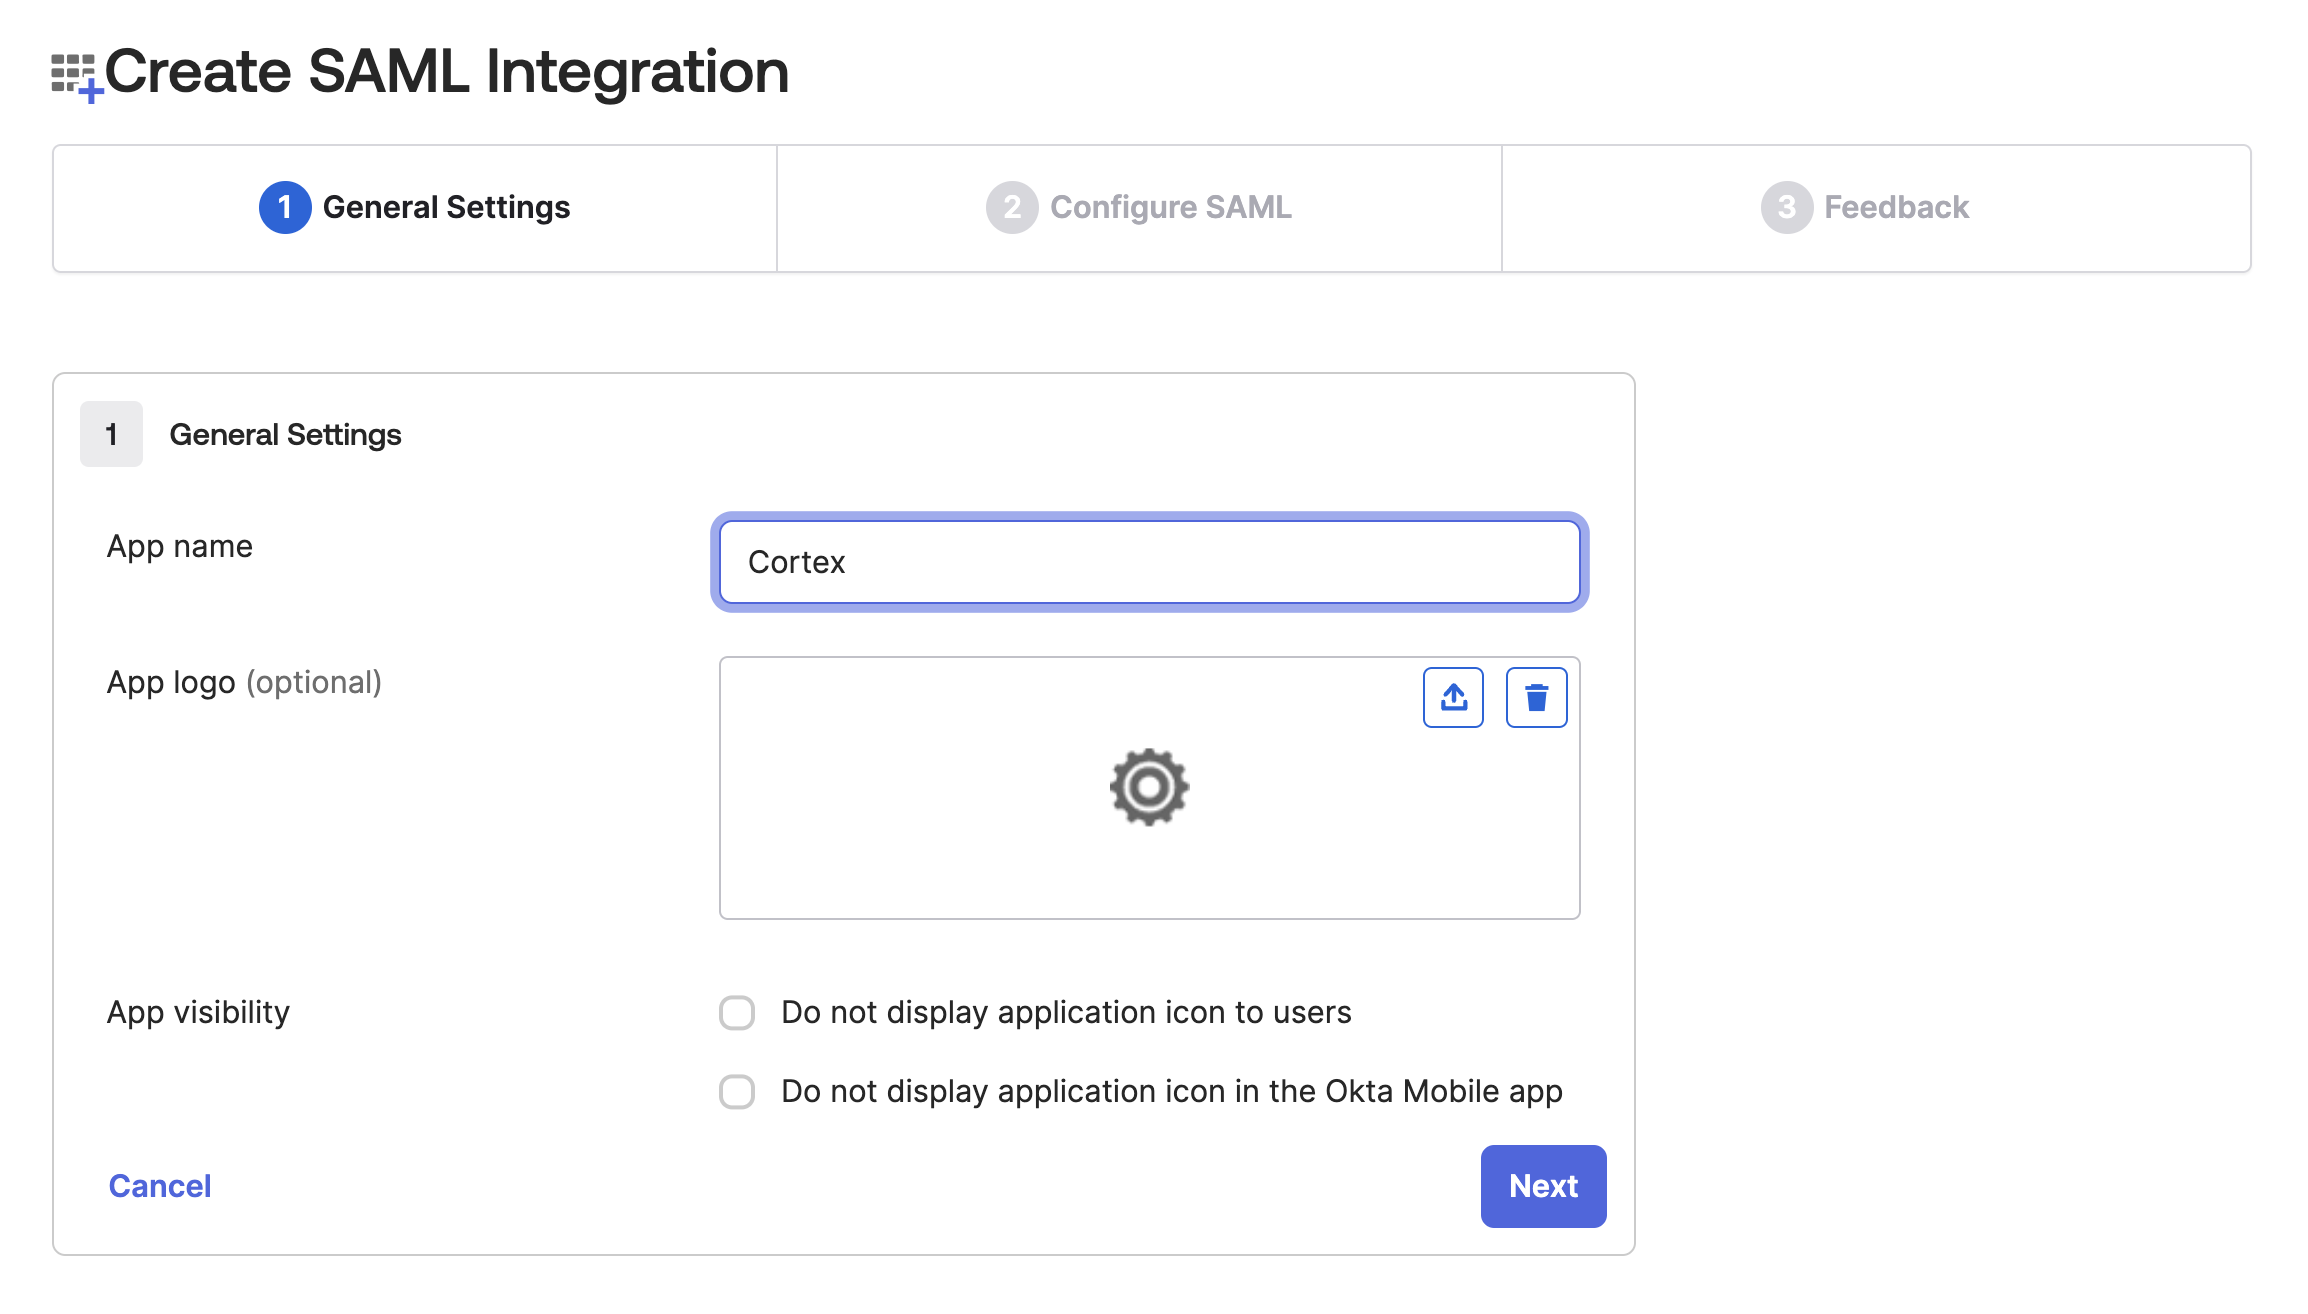
On Step 1 of the resulting wizard, enter "Cortex" for the application name and click "Next".
-
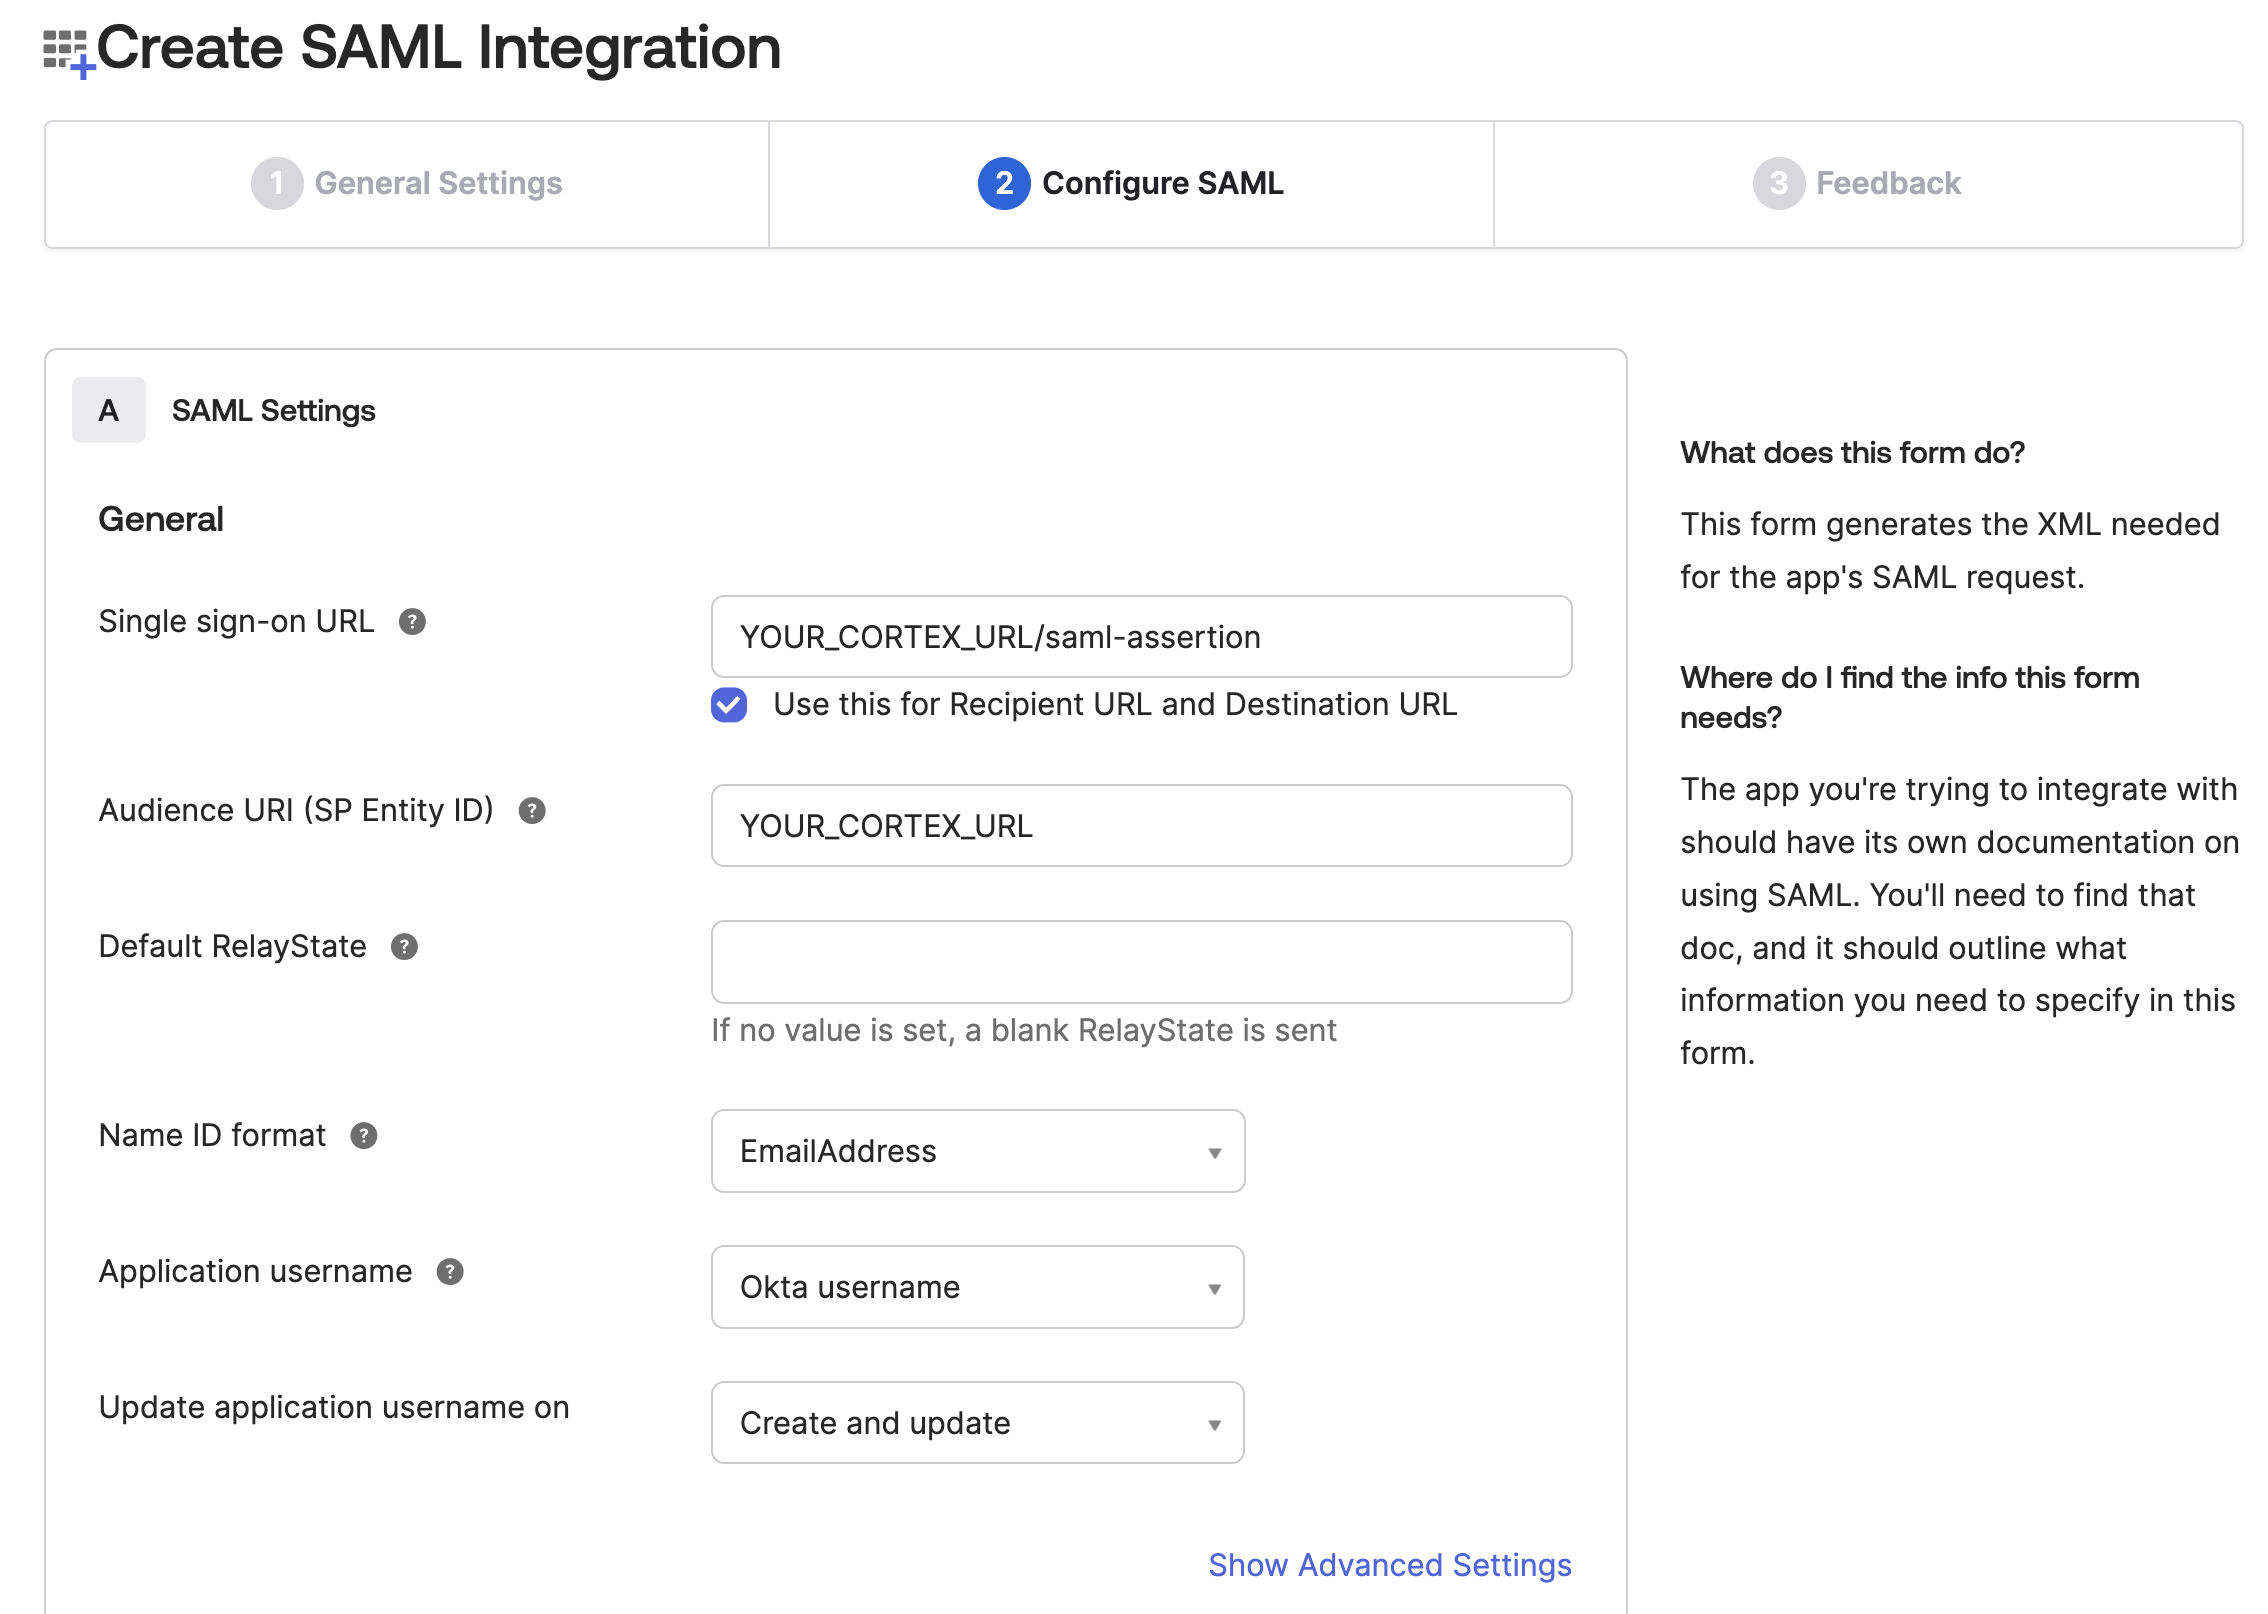
On Step 2, enter the following values, then click "Next":
- Single sign-on URL:
<your cortex url>/saml-assertion - Audience URI (SP Entity ID): your cortex url
- Name ID format:
EmailAddress
- Single sign-on URL:
-
On step 3, feel free to provide feedback to the Okta team if you choose. This is not required. (Then click "Finish".)
-
You'll land on the settings pages for your application. From the "Sign On" tab, copy the Metadata URL. You'll use this for the
IdpMetadataUriin step 2 of the next section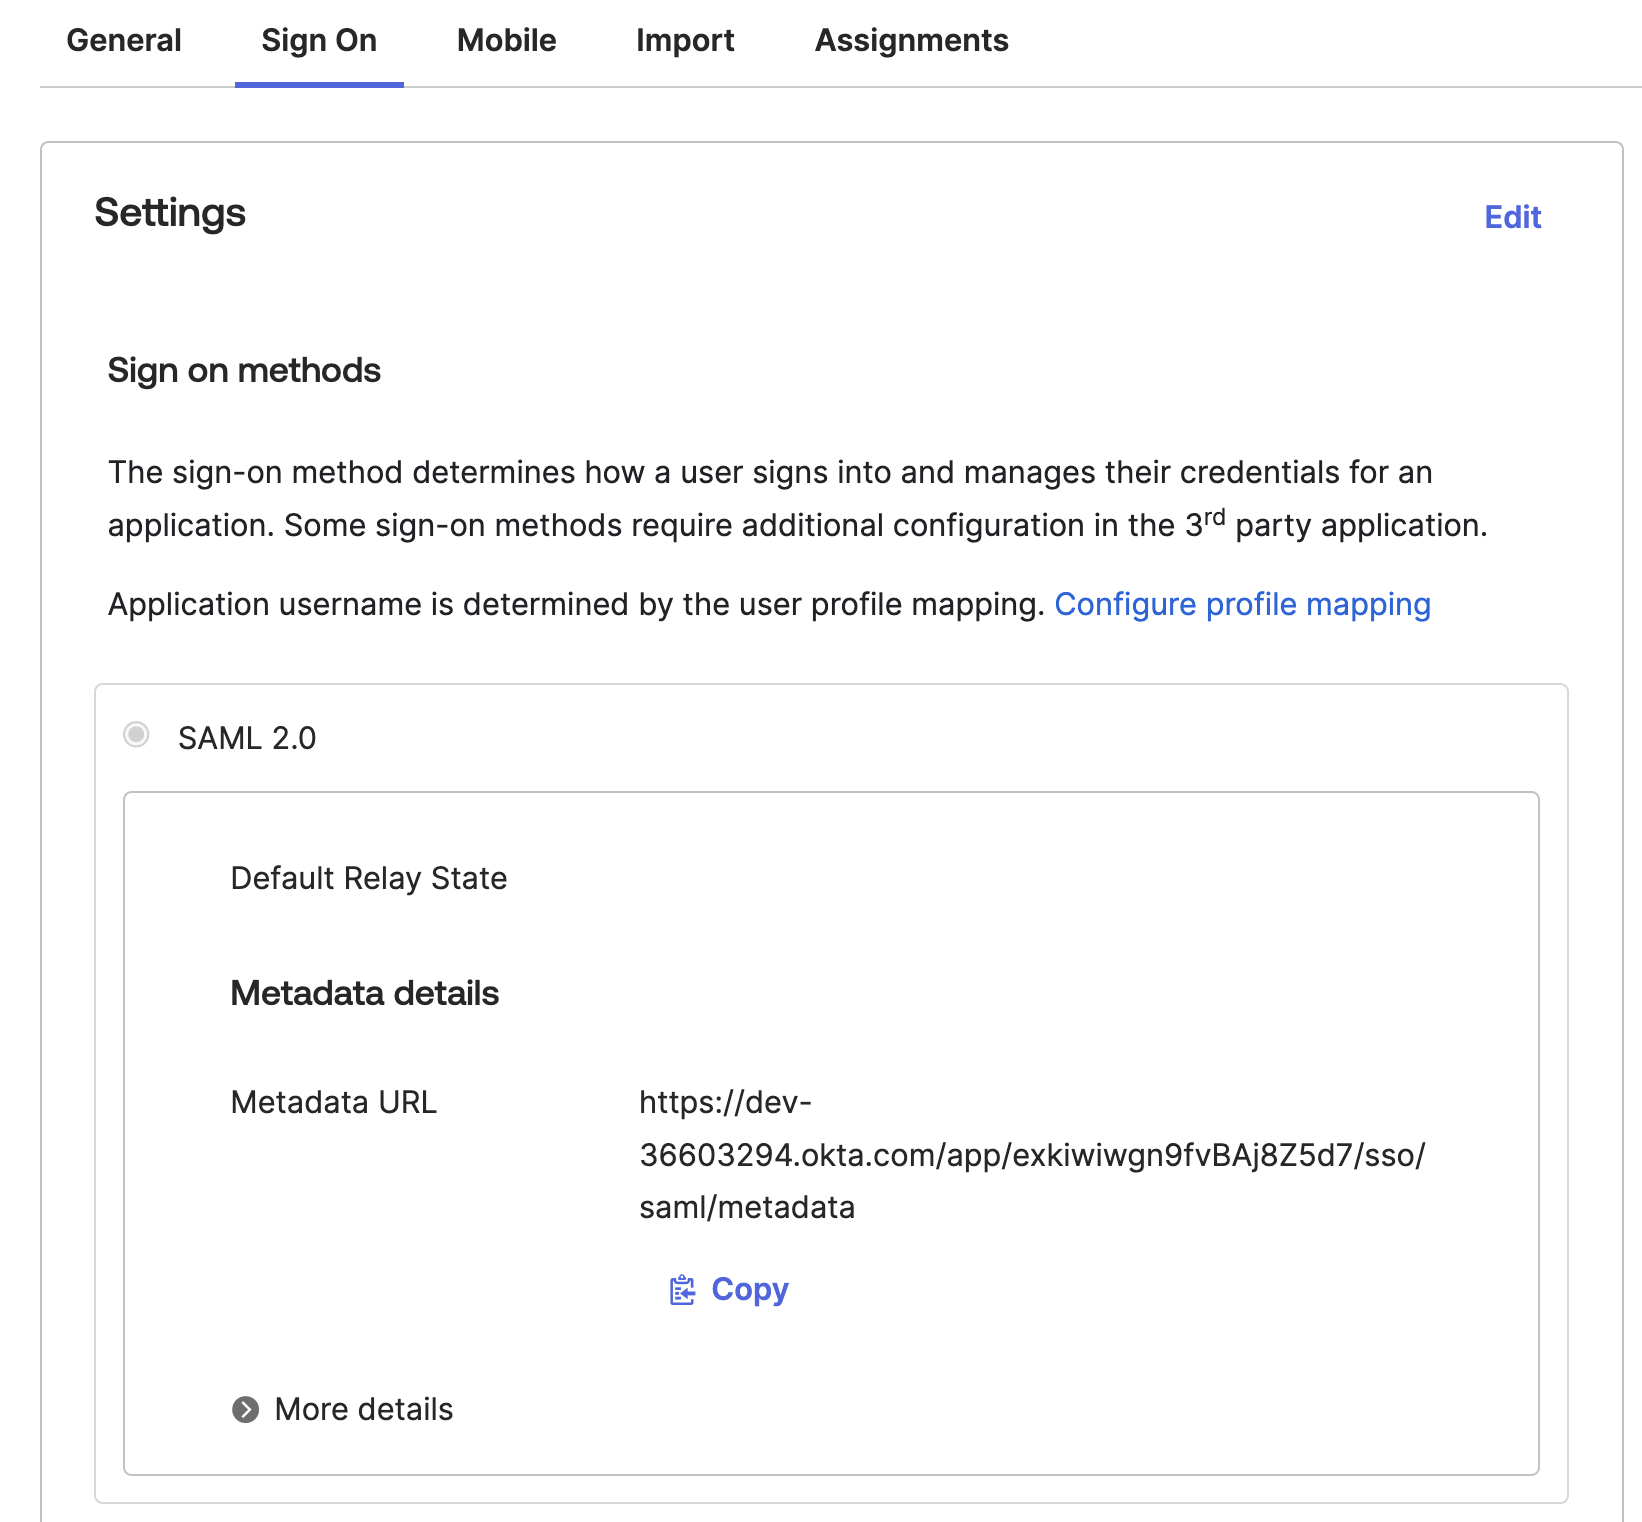
-
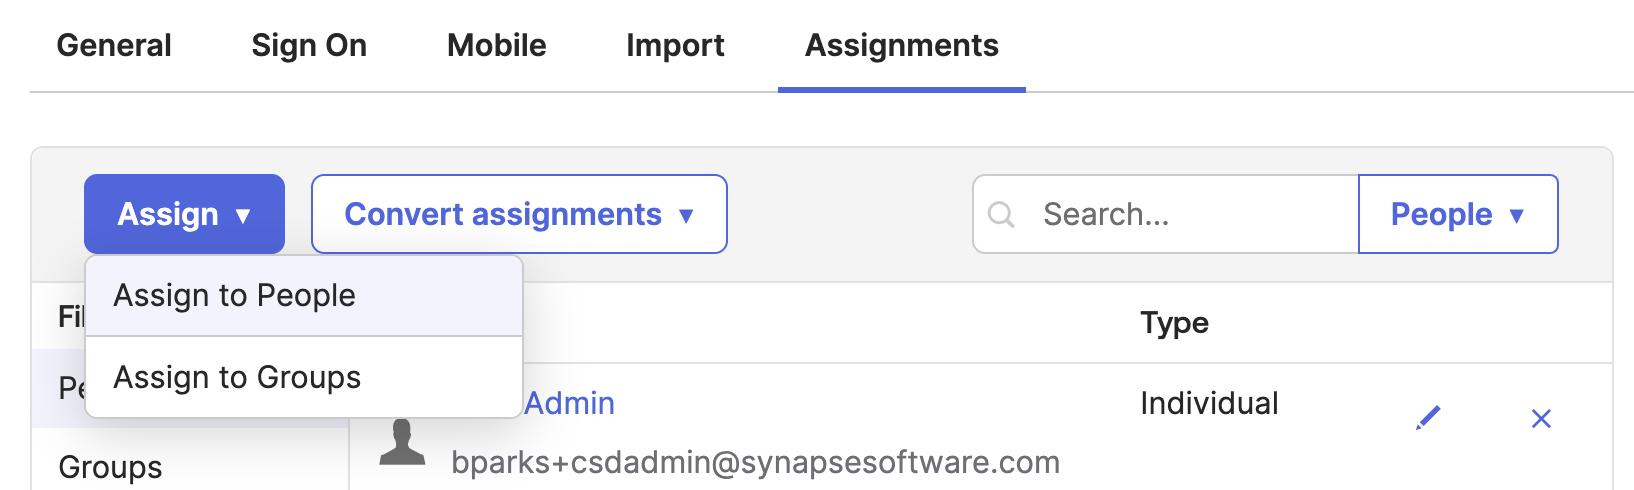
Assign users or groups to the application.
Configure Cortex to find the IdP
-
In
appsettings.json, set the Authentication type to "saml":{
// ...
"Authentication": {
"Type": "saml",
// ...
}
} -
In the "Saml" settings block (in the "Authentication" block), set values for the following settings:
IdPMetadataUri- the URI of the IdP's metadata (copied from step 5 in the last section)PublicUri- the publicly accessible URL of the server running Cortex (<your cortex url>)CertificateValidationMode-"None"
-
Likely, you'll also need to set the
LookUpBysetting in the mainAuthenticationblock to have the value"Email". Try without; if you appear logged into Cortex but with no access to any business objects (and you see an email address in the bottom left corner), add this setting.
Additional Options
Depending on your specific configuration, you may or may not need the below options. Start by following the setup above, then changing a single option at a time, then re-testing. Depending on the type of misconfiguration (or "incomplete" configuration), you may see feedback in the UI, or in the logs.
For simplicity, the following options are listed in Block:SubBlock:Setting format.
If you're configuring Cortex by modifying appsettings.json, that means you'll set the
Setting in the JSON block SubBlock within the JSON block Block, e.g.:
{
   "Block": {
      "SubBlock": {
         "Setting": "value"
      }
   }
}
If you're configuring Cortex via environment variables, you'll set an environment
variable named Block:SubBlock:Setting in Powershell or Block__SubBlock__Setting
in any environment (that is, replacing the single colon with two underscores).
Authentication:LookUpBy- either "Email" or empty. If your IdP identifies users by email address (do you see an email address in the bottom left Corner when you log into Cortex?), set this to "Email".Authentication:IdentifierClaim- the name of the claim that your IdP sends to identify your users. It could be something simple, likeemailAddress, or something that looks like a URL. Your IdP documentation might help you figure this out.Authentication:Saml:CertificateValidationMode- you can disable validation entirely by setting this to "None"Authentication:Saml:RevocationMode- do you want to verify that the IdP's certificate is unexpired and has not been revoked?Authentication:Saml:ForceAuthn- require the user to enter their username and password on the IdP's login screen regardless of whether they are already logged in. This is equivalent to Cherwell's "Authentication: Force" setting.